At Anderson Materials Evaluation, we offer a vast array or metal analysis and testing services. Here are some of the analysis and testing capabilities we can use to solve your unique metal analysis needs:
- Quantitatively determine the elemental composition for elements fluorine and heavier
- Detect and measure very low concentration heavy elements
- Verify whether a metal is the proper alloy for the application and environment
- Surface contamination detection and identification
- Surface oxide chemistry
- Identification of corrosion products
- Measure Cr to Fe ratio in stainless steel surface oxides to check passivation effectiveness in the base metal, at a weld, and in the Heat Affected Zone (HAZ).
- Surface segregation of elements in alloys; carbon, sulfur, and phosphorus being examples in addition to metal elements
- Depth profile elemental analysis to measure graphitic carbon and carbide concentrations as a function of depth
- Determine the chemistry of anodized surfaces
- Determine cause of adhesive bond failures on metal surfaces
- Examine the surface chemistry of metal particles prior to sintering for powdered metallurgy
X-ray Diffraction (XRD) Analysis:
- Identify and measure the percentage of various metal alloy phases in a metal
- Determine the surface oxidation or surface treatment products when thick enough
- Detect and measure the concentration of intermetallic phases
- Identify corrosion products
- Distinguish differing quench rates for a metal alloy
- Measure pitting potential and current densities
- Failure analysis of stress corrosion cracking
- Determine protection offered by paint, primer, or anodization
- Determine cause of undercoat corrosion
- Identify corrosion products
FTIR or Infrared Spectroscopy Analysis:
- Identify organic coatings on metal surfaces
- Identify organic contaminants on metal surfaces
- Identify carbonate, sulfate, nitrate, nitrite, phosphate, and hydroxide layers on metal surfaces
- Determine alloy melting temperature and the heat of fusion if the melting point is below 725°C
- Measure the heat capacity
- Determine temperature and exothermal energy of intermetallic phase formation
- Determine temperature of crystalline structural (shape-memory included) or magnetic phase transformations (curie temperatures)
- Determine temperature and energy of a precipitation reaction such as those in many aluminum alloys
- Measure rate of gas reaction with metal as a function of temperature
- Determine the Curie temperature of magnetization of ferromagnetic materials
- Measure the rate of thermal expansion as a function of temperature
- Measure the melting point if it is below 800°C
- Measure the rate of surface layer growth due to reaction with gas as a function of temperature
- Determine the temperature of a structural phase change
- Image surface morphology
- Determine fracture mode
- Determine crystalline domain sizes
- Measure phase distributions and identify phase types
- Examine oxide structure and growth modes
- Image wear effects
- Examine growth modes of deposited films
- Determine cracking modes
- Determine inclusion content
- Examine for voids
- Examine structures for design integrity
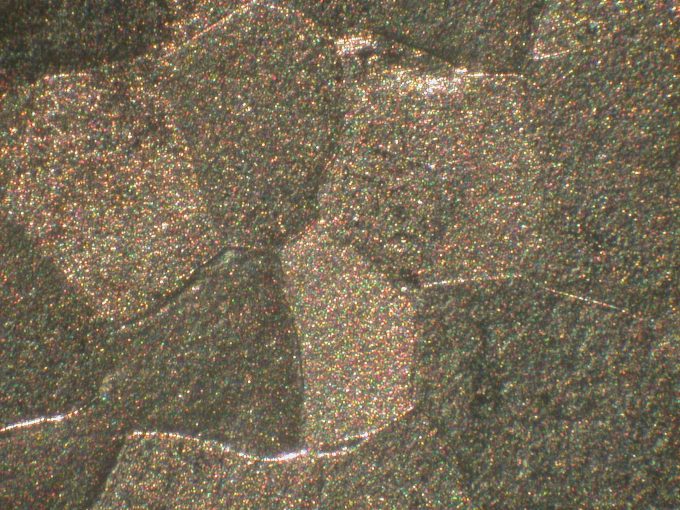
Metallographic Analysis or Metallography:
- Examine grain sizes and shapes
- Examine phase distribution and identify type
- Examine coating defects such as holes, pores, and cracks
- Measure density and type of inclusions
- Measure density and size of voids
- Measure the thickness of oxide or surface treatment layers
- Examine solder and braze joint cross sections for defects
- Examine the heat-affect zone near welds and brazed joints
- Examine grain by grain variations of oxide thickness on highly oxidized metal surfaces
- Examine the onset of corrosive reaction or pits
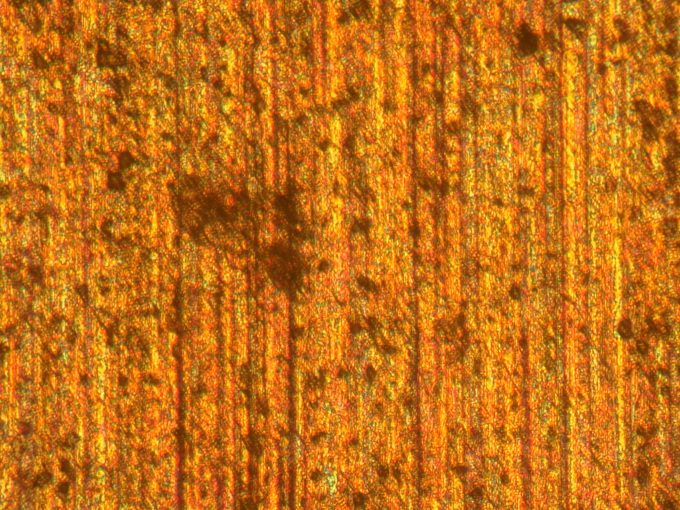
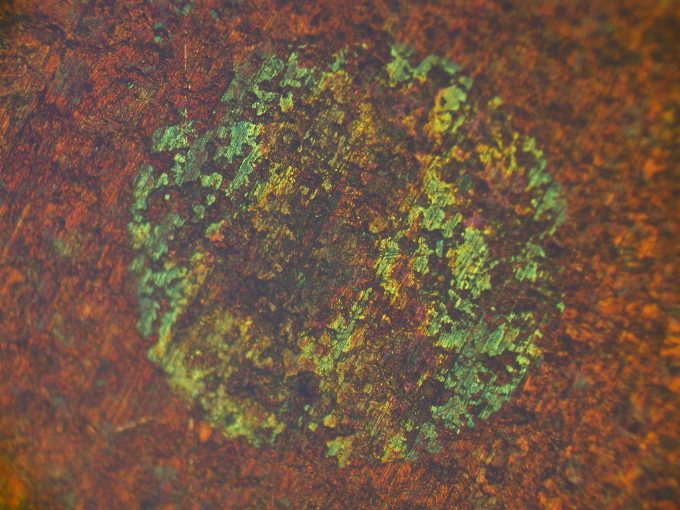
Several examples of metallographic analysis are discussed on this page.
Surface Profilometry and Roughness Measurements:
- Measure surface roughness parameters
- Measure the step height at the edge of a metal layer on a PCB or connector
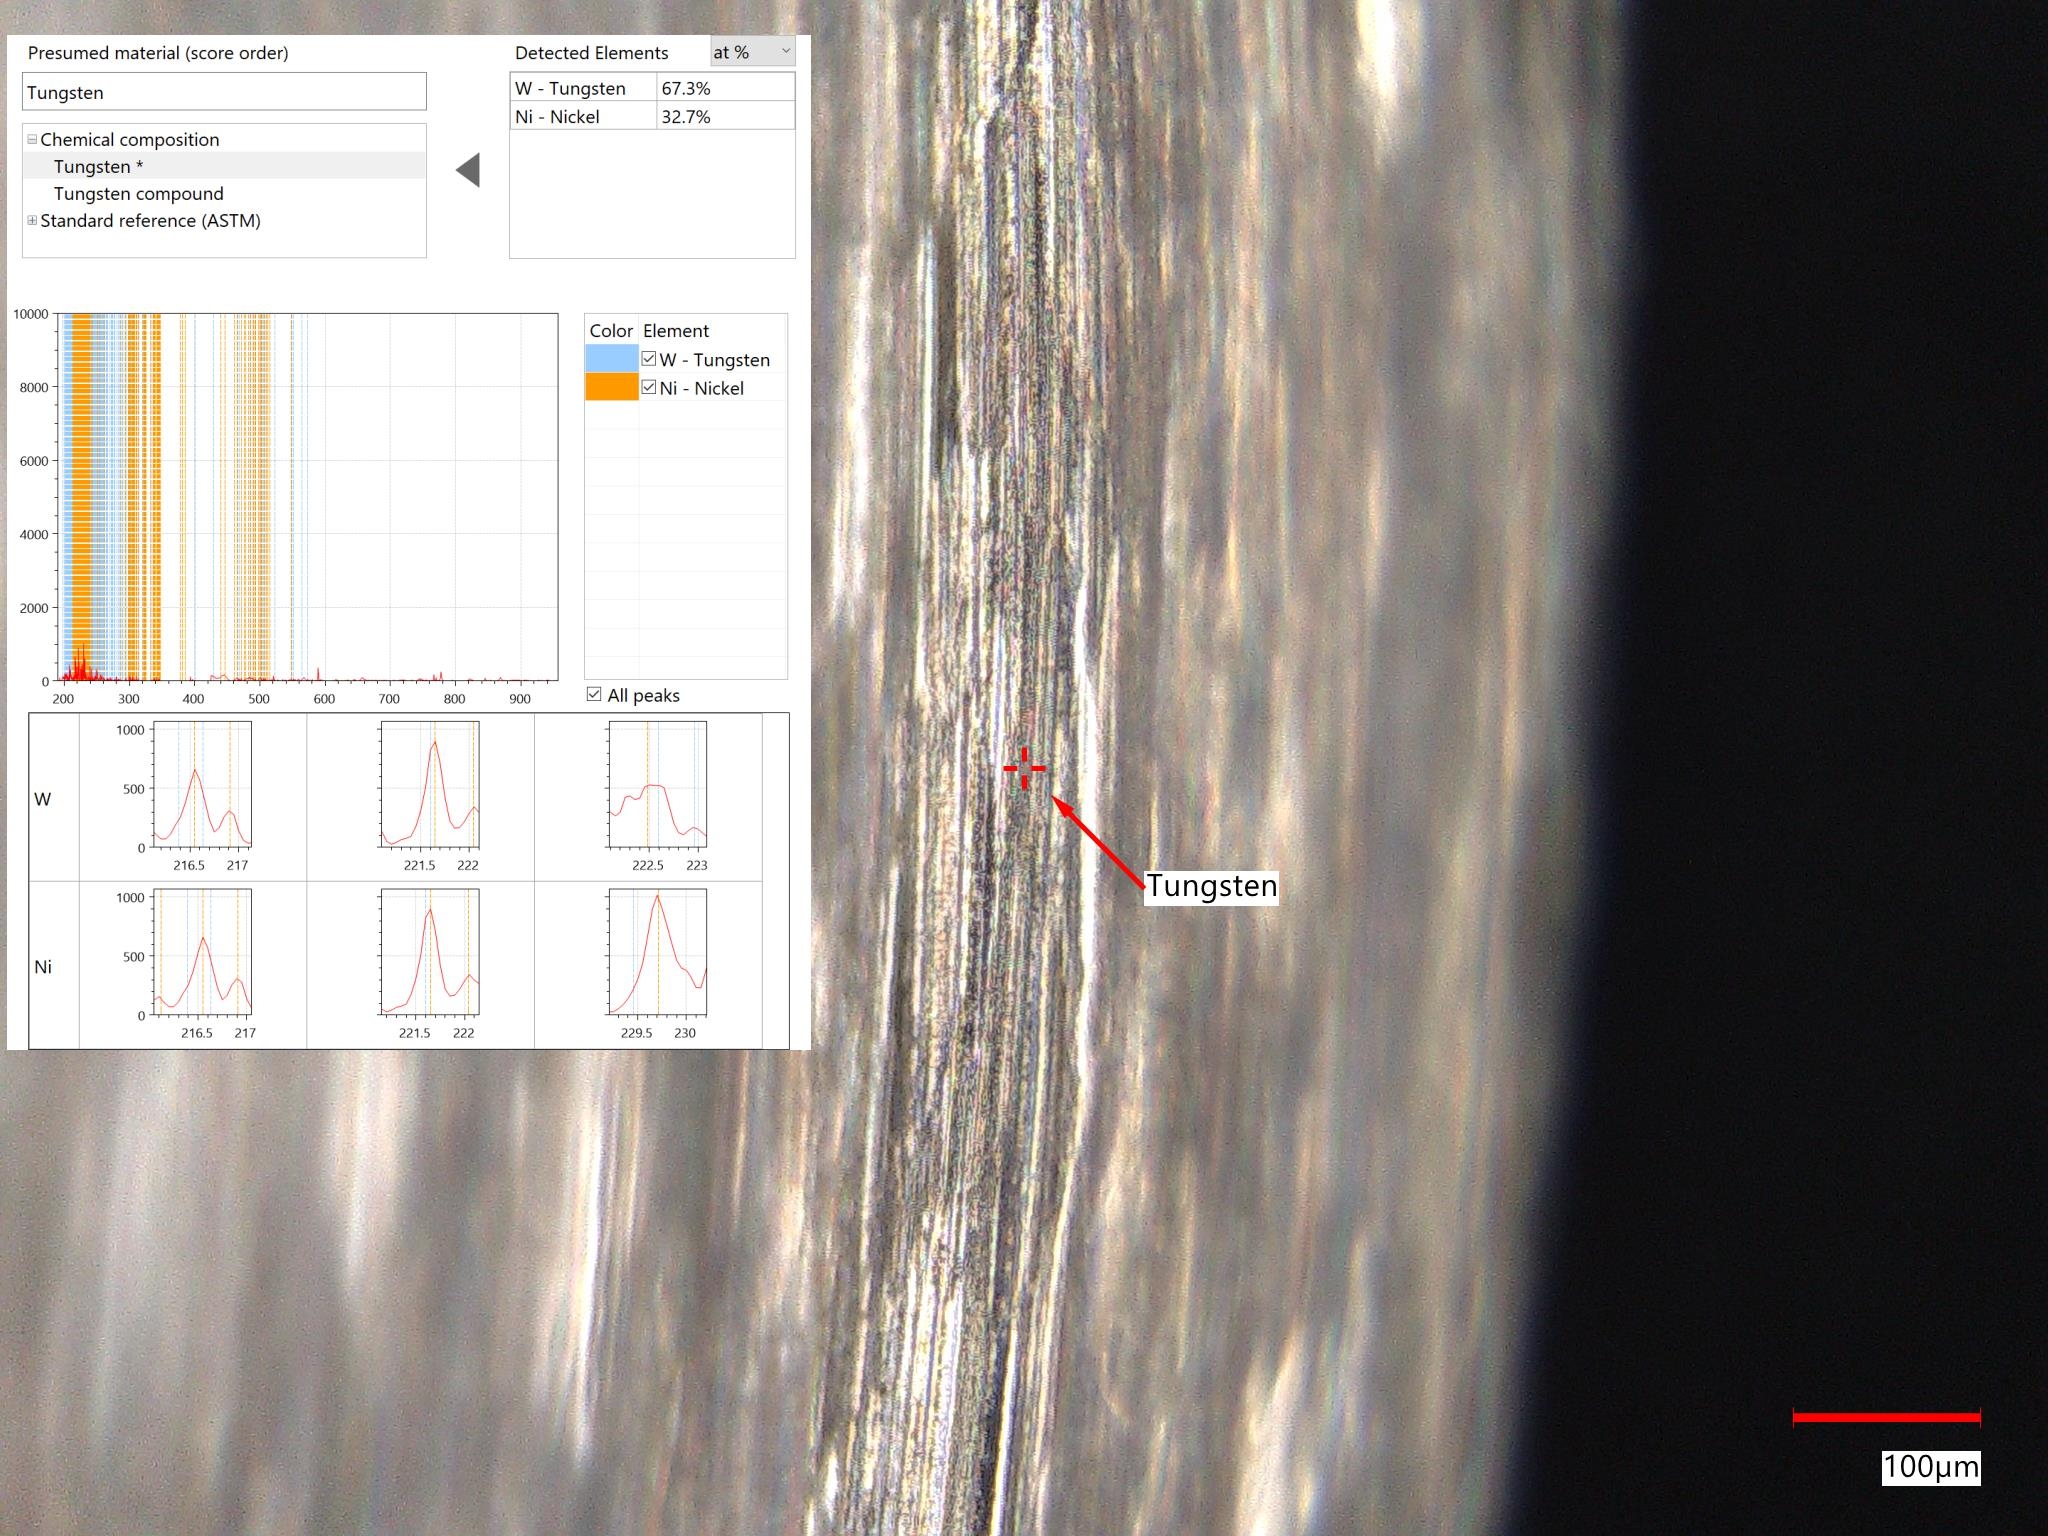
Keyence Microscopy with LIBS Elemental Analysis:
- Chemical Phase Information
- Particle Size and Grain Size Analyses
- Surface Topography Profiles with Surface Roughness Measurement over Lines and Areas
- LIBS for Elemental Analysis of Small Volumes of Material
For thin metal samples, the Ecopia HMS-3000 Hall Effect Measurement System uses the van der Pauw technique for these measurements, with thickness much smaller than for non-metallic materials:
- Measure Electrical Conductivity (limited to a few hundred micrometers thickness)
- Measure Carrier Concentration (less than 20 micrometers thick)
- Measure Mobility (less than 20 micrometers thick)
- Measure Average Hall Coefficient (less than 20 micrometers thick)
- Measure Sheet Concentration (less than 20 micrometers thick)
- Measure Sheet Resistance (less than 20 micrometers thick)
- Measure Resistivity (less than 20 micrometers thick)
- Measure B-D Cross Hall Coefficient (less than 20 micrometers thick)
- Measure A-C Hall Coefficient (less than 20 micrometers thick)
- Measure Alpha (Vertical/Horizontal Ratio of Resistance)
- Measure Magnetoresistance (less than 20 micrometers thick)
Reach out today to explore your metal analysis needs. Our team is happy to collaborate with you in crafting a comprehensive solution tailored to address your specific concerns.
