Anderson Materials Evaluation has a long history of coating analysis. Our materials analysis laboratory characterizes coatings and painted surfaces and solves problems in such materials and at the interfaces to which they are applied. We have characterized or investigated problems with electronics coatings, protective coatings for aerospace and defense, coatings to promote adhesive bonding, coatings to prevent corrosion or degradation, multilayered optical reflective and anti-reflective coatings, thermal protection and fire-resistant coatings, automotive and construction coatings, mold release and high lubricity coatings, hard coatings, abrasion-resistant coatings, hydrophobic and hydrophilic coatings, low VOC coatings, radar absorption coatings, chemical release coatings, and sensor coatings.
We have dealt with many issues of surface contamination or ill-preparation of substrate materials. We have contended with many deposition problems and different growth characteristics. Curing problems, thickness measurements, volatile organic content measurements, residual stress, delamination and peeling, chemical attack, thermal and radiation degradation, agglomeration of filler particles, voids and fisheyes, diffusion between multiple layers, unusual wear, stains, and changes of color and texture have all been subjects of our many investigations.
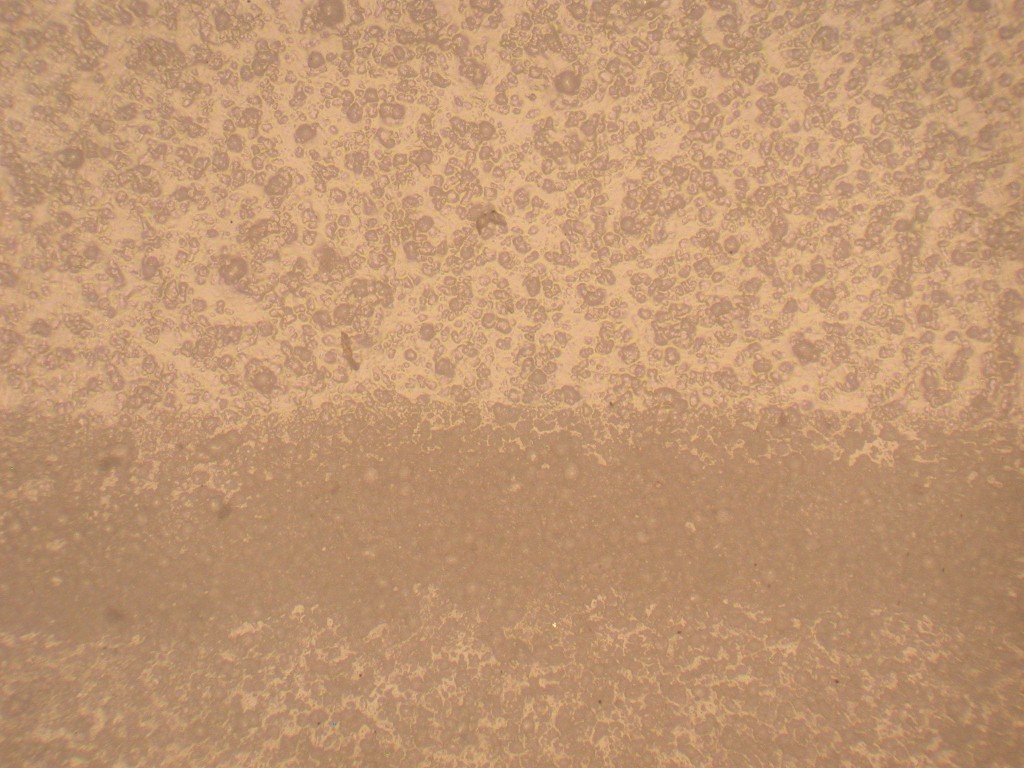
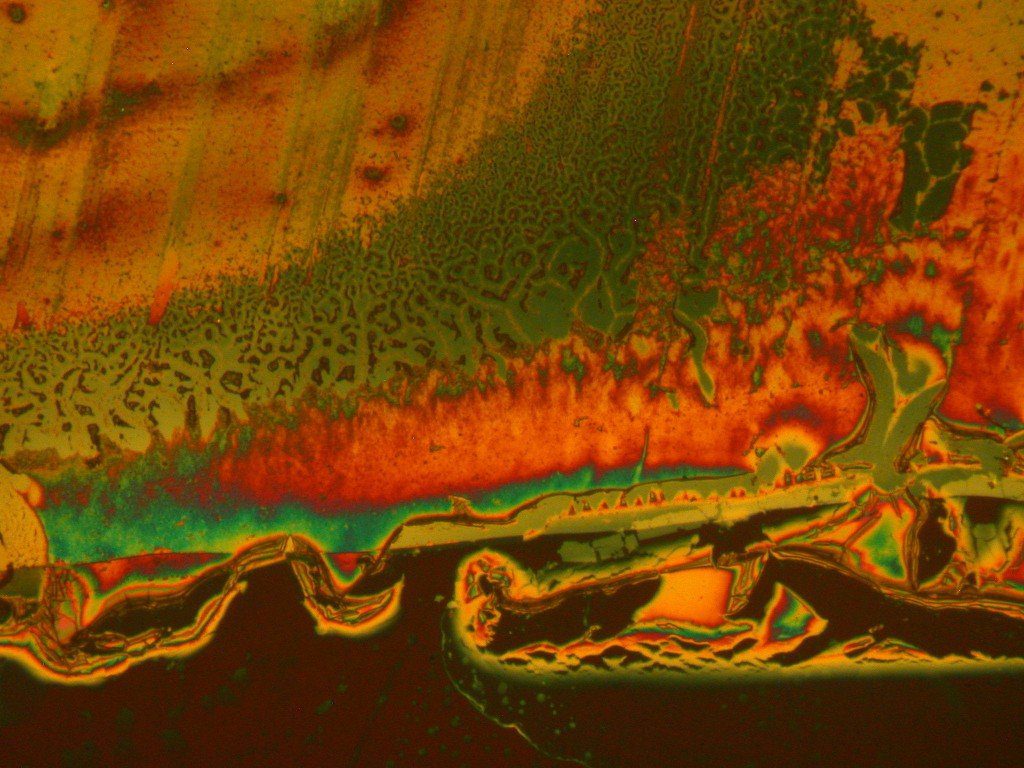
Metallographic Optical Microscopy / SEM Coating Analysis:
- Cross-section analysis to determine the thickness of the coating, voids, and pores
- Radial sectioner analysis to measure coating thickness, as an alternative to standard cross section analysis
- Determine grain size, structure, and multiple chemical domains in polycrystalline metal and inorganic films
- Check thickness and fill particle uniformity of paint or thickness and chemistry of metal films
- Check fill particle distribution and detect particle agglomeration in paint
- Topography and film crack morphology
- Detect coating holidays and fisheyes
- Observe agglomeration of UV protecting and color-providing inorganic particles
- Detect presence, prevalence, and size of nibs
- Determine degree of cure of paint by examining the sidewall of MEK double-rub tested painted surfaces


FTIR or Infrared Spectroscopy Coating Analysis:
- Identify the organic coating
- Detect carbonates, phosphates, sulfates, nitrates, and nitrites
- With specular reflectance accessory, determine the chemistry as a function of depth and separate signal from multiple layers
- Determine whether coating absorbs water with relative comparisons
- Check coatings for degradation due to aging, UV exposure, thermal history, or other radiation exposure
XPS or ESCA Surface Analysis of Coatings:
- Determine chemical composition of coating binders or matrix polymers
- Determine the actual composition of films and coatings deposited by PVD, ALD, CVD, electrochemically deposited, electroless deposition, and other films or coatings whose chemistry is process dependent
- Detect contaminants on surfaces to be coated, with a detection limit of about 0.08 mg per square meter for polydimethyl siloxane, for example
- Determine cause of coating peeling or delamination
- Determine the composition of filler particles or flakes, often in conjunction with TGA analysis
- Determine the composition of underlying anodized metal layers with or without sealant layers
- Determine the composition of corrosion prevention undercoatings and primers
- Identify composition of particles causing nibs
- Determine the composition with depth of multi-layered thin film coatings such as anti-reflective coatings, reflective coatings, and masking coatings, see this example of the analysis of a reflective coating.
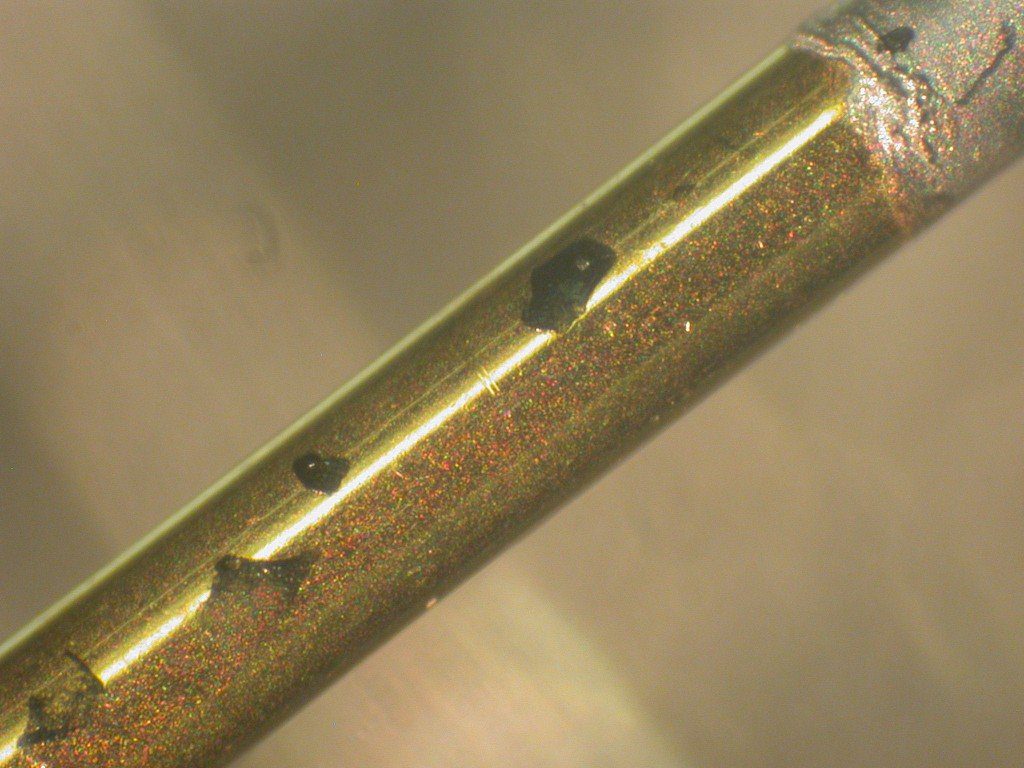
- Determine the composition of coatings on the surfaces of fibers. Report on the analysis of coatings on polyethylene fibers and the fiber surfaces after stripping off the coatings.


Gas Chromatography – Mass Spectroscopy Analysis:
- Separate, identify, and quantify the organic components of a coating or paint
- Detect impurities in an organic coating material to ppb concentrations.
- Detect and identify contaminants on surfaces prior to their being adequately cleaned for the application of a coating. This helps with the development of suitable cleaning processes.
- Solvent rinse surfaces to determine what, if any, contaminants are left on the surface after cleaning procedures have been applied to the surface.
- Identify and measure leachable organic components of paints and coatings
- Measure the Bisphenol A (BPA) in a paint of coating material
Thermogravimetric Analysis or TGA Coating Analysis:
- Determine oxidation behavior
- Determine weight % of filler minerals and identify filler material with XPS analysis
- Measure weight of absorbed/adsorbed water
- Determine weight of solvents and volatiles in liquid paint for VOC emission testing
- Measure weight loss upon heating to measure weight of multiple organic components and susceptibility to oxidative decomposition
Differential Scanning Calorimetry or DSC:
- Determine crystalline phase changes
- Measure melting temperatures
- Measure heat of fusion
- Determine cure temperature
- Measure glass transition temperature
- Measure degree of cure
Thermomechanical Analysis or TMA Coating Analysis:
- Measure coefficient of thermal expansion
- Measure softening temperature
- Determine degree of crystallinity
- Measure glass transition temperature
- Measure shrinkage due to the loss of volatile organic solvents or water
SEM / EDX Analysis of Coatings:
- Examine surfaces for cracks, voids, or loose particles due to degradation
- Examine additive particles for proper size and evidence of excessive clumping or agglomeration
- Examine cross sections for thickness measurements
- EDX is useful for detecting the interface between paint and primer in many cases
- EDX may be useful in detecting the interface between a clearcoat and a paint layer
Profilometry or Surface Roughness and Microscopy:
- Measure surface roughness
- 3-dimensional surface topography mapping
- Detection of defects as small as 500 nm
- Measurement of 2D and 3D distances
- Layer thickness measurements
- Detection of coating holidays
- Undercoat corrosion
- Measure activity in holidays or pores through coatings
Contact Angle Measurements of Coatings:
- Determine the surface tension or energy of the substrate before applying the coating
- Determine the surface tension of energy of the coated surface
Mechanical Testing for Coating Analysis:
- Coating adhesion strength in tension
- Lapshear adhesion testing
Hardness Testing:
- ASTM D3363 Standard Test Method for Film Hardness by Pencil Test is used to test the hardness of paint and other coatings. Under-cured paints or coatings may be softer and less wear-resistant than is required, for instance.
Viscometry:
- Measure the viscosity of liquid paint or particle emulsions
- Measure resin demand for particle emulsions
- Measure the effect of pH on viscosity
